The following list of tips have come from various club members as indicated. If you like the idea then why not try it out?
John Dilley
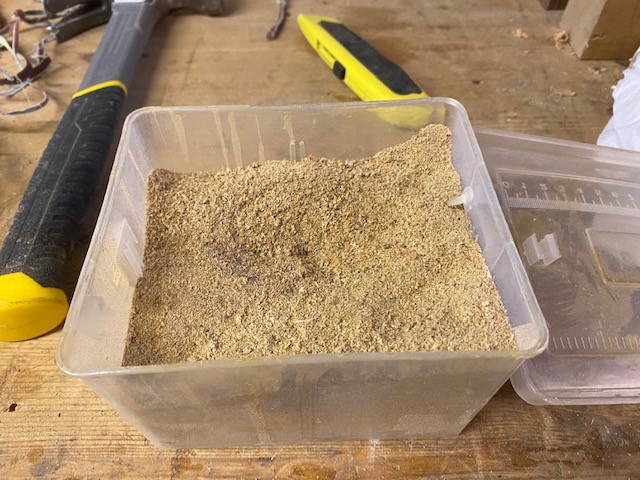
When cleaning out your bandsaw or sander collect a pot of fine sawdust when you need to make some filler !
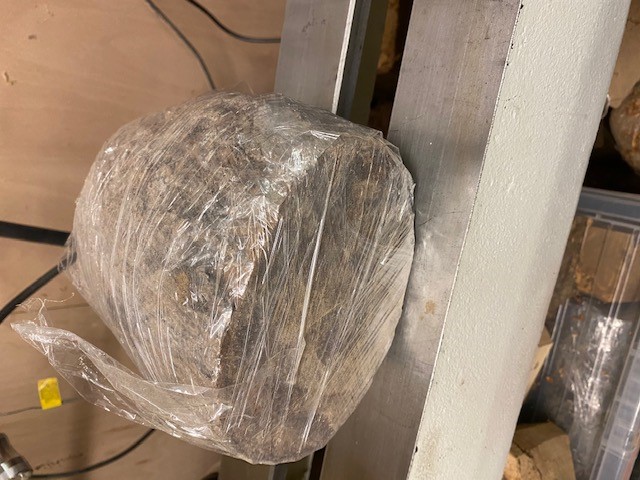
I wrap new cut wood with cling film and gradually cut it away over the months exposing the bark only and leaving the ends covered and it helps it to dry without cracking. I also make plywood shelves and drill holes having my drives etc close to hand and in one place The other thing I do is any old candles I melt in an old sauce pan and dip the ends of small branches to cover the ends and again this helps it dry without cracking.
Bryan Milham
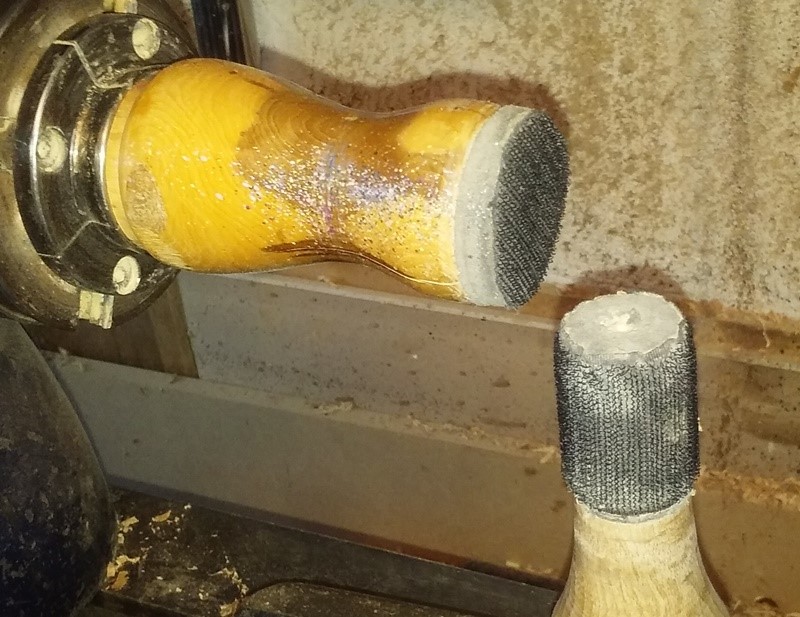
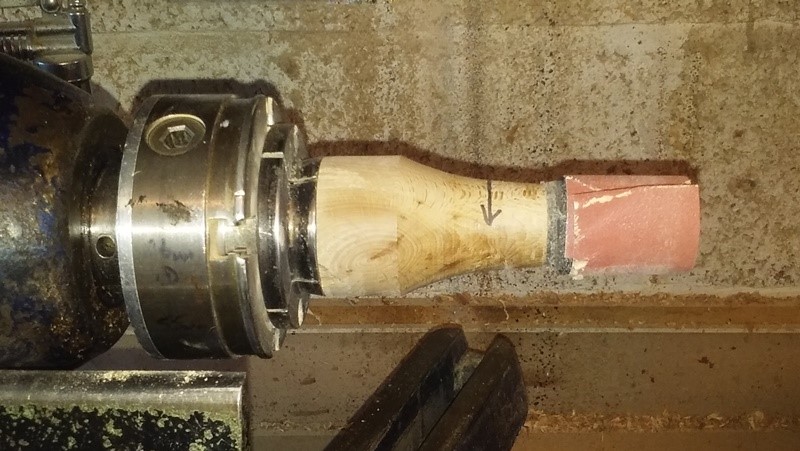
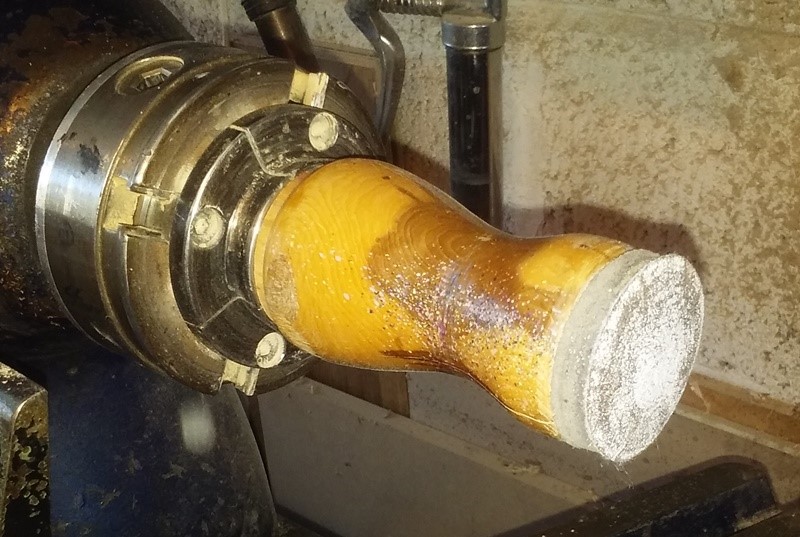
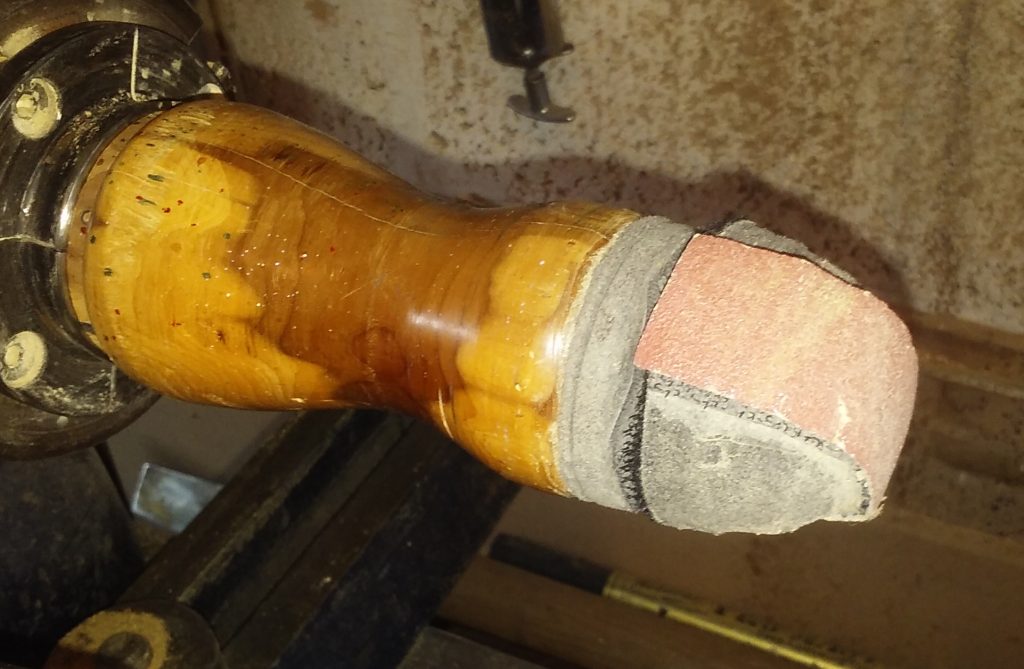
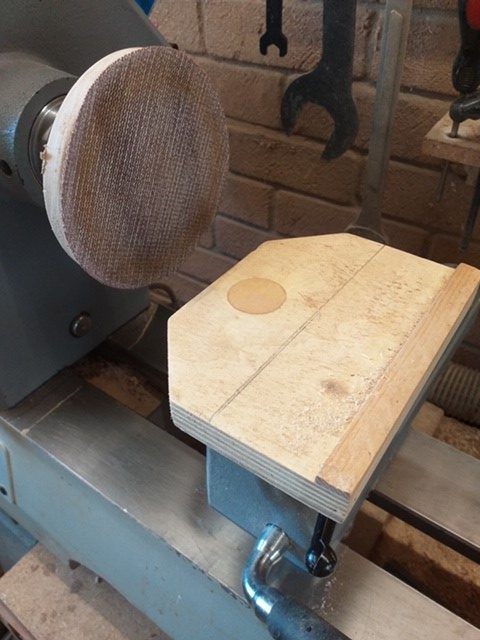
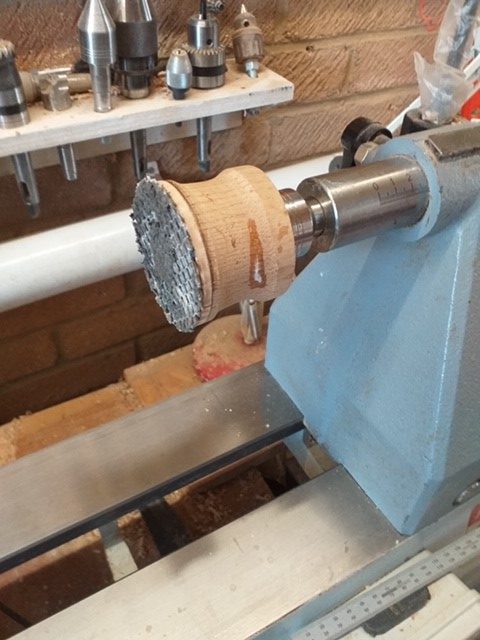
Lets see if I can explain these sanders and how they work.
They can be made any length, mine vary between 5″ to 7″ long, one for bottom work, one for side work. They both have a medium density urethane type foam on them as a backing and that is covered in the ‘Hook’ part from a 2″ Hook & Loop (Velcro). The Side Sander uses ‘Loop’ backed abrasive paper and it must overlap itself, or it will catch an end and pull itself off of the jig. The End Sander uses standard 2″ sanding disks.
Using them means they do the rotation in the chuck and you move the work in question, so don’t run them too fast and keep the work moving. It also means if you have a problem with tear out, you can work that area more and not have to sand the whole internal circumference.
This is a domed sanding pad, used to sand the curved bottom of goblets etc. The abrasive is only a narrow strip as otherwise I would need to start cutting all sorts of shapes into the abrasive to get it around the curve. It also uses hook & loop again and fits onto the ‘End Sander’.
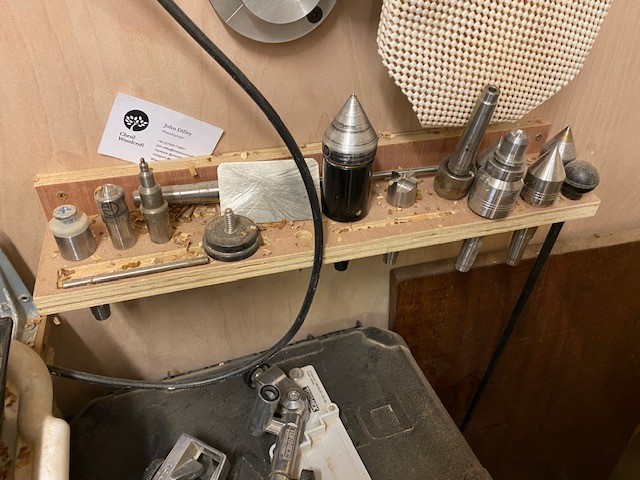
Do you have a ‘Threaded Live Centre? Do you want to make better use of it?
This picture is of both my Threaded Live Centres and all of the Axminster adaptors, but the usefulness of these can be extended by a visit to WsM Fastners on Oldmixton Trading Estate and the purchase of some Nuts to suit the thread. For the Axminster centre and the One Way centre the thread is 3/4″ x 16, some others may vary, take it with you to check.
Once you have the nuts you can make all sorts of things, here some is of my current home-made ends.
Back Row (L-R): – A Vase Steady, it fits inside the rim, although I have also hollowed the inside to use for other things as well. – A Cup Chuck, to fit into a goblet cup to support it. – A stand off with silicone end, used to reach down inside some forms. – 3/4″ x 16 Nut
Front Row (L-R): – Hard to see but the first one does have a nail just poking out of it, used to support some platters etc with a centre mark that can be used to recentre it. – A padded platter support, to hold the platter against a support disk so the back can be finished. – A small finial or other small thing turning support, it is drilled through and tapered into the hole. – 3/4″ x 16 Nut
Don’t have a threaded Live Centre and want one? don’t go to Axminster, they are charging £40 for just the centre and £66 for one with all the ends, both plus postage. But RDG Tools are doing one for £29:50 Post Free.
Any questions, please ask?
John Smith
If you don’t have a disc sander use a face plate with a wooden disc attached, then stick strips of velcro to the wooden disc then attach a micromesh adhesive disc. You can also make a simple table to fit into the banjo of your lathe. If you need to support something and you do not want to leave any marks turn a piece to fit over your rotating tail stock and stick a piece of router mat to the end.